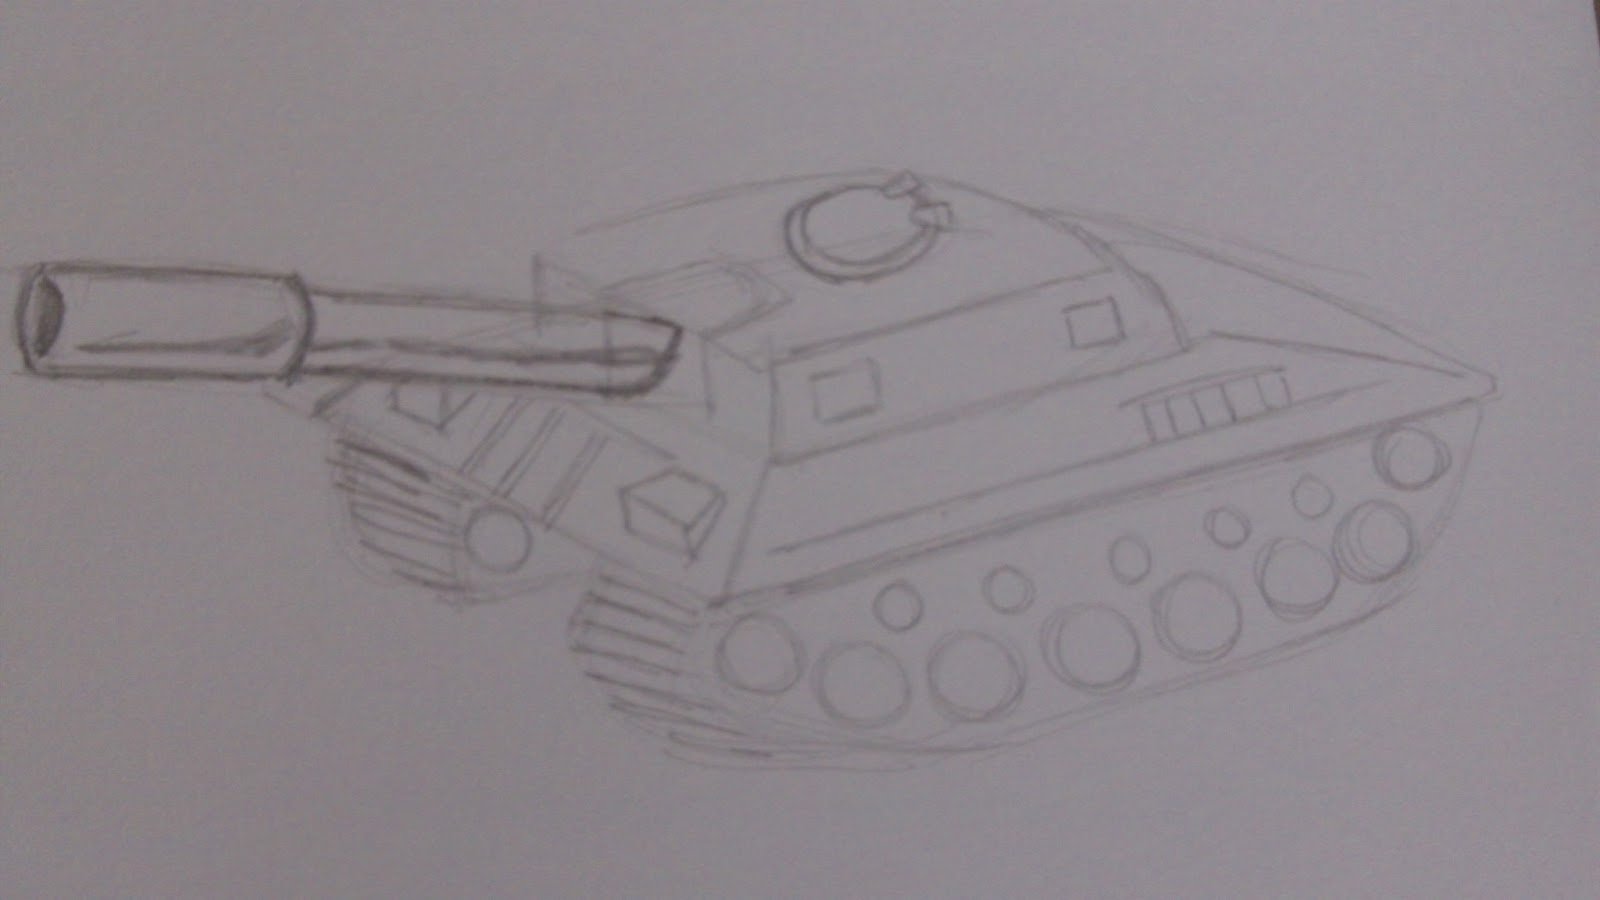
Whether it is reference photos or actual Toys, you can really get a good insight into drawing real life objects and vehicles such as this. Follow along or draw it yourself.
Showing posts with label drawing tutorial. Show all posts
Tuesday, 23 April 2013
How To Draw A Tank
How to draw a Tank. This is a very simple photo guide of me drawing a basic tank from one of my Son's Toy Tanks. I suppose it is useful in that I break down the steps to draw this and whilst not a perfectly drawn Tank, it is an effort of sketching one. Trying to break down any difficult thing to draw is your best bet when drawing this kind of stuff.
Whether it is reference photos or actual Toys, you can really get a good insight into drawing real life objects and vehicles such as this. Follow along or draw it yourself.
Sunday, 3 June 2012
How To Draw A Pirate Skull
How to draw a pirate skull step by step
A simple step by step drawing tutorial for drawing a pirate skull. Drawn with a popper pencil and really broken down into bite sized steps so that you can follow along and draw this yourself. Start off with a shape much like an oval for the skull head and notice I've put the oval on an angle which helps to make the skull design look unique and better to look at.
When starting to draw any kind of head or face, the starting point should always be a rough oval shape. And this pirate skull drawing is no exception. Take a look at the following step by step photos of each drawing stage to see how to draw this Pirate Skull image and once you see how it's done you can draw better and more improved skulls as time goes on.
| Draw an oval shape for the skulls head. |
| Sketch the eye holes and a small line for the temple of the skull. |
| Sketching in the cheek bones of the skull and working on the skulls structure. |
| Loosely draw the top teeth of your skull. |
| Draw loosely the lower teeth and jaw. |
| Sketch in the Pirate bandana. |
| Draw the eye patch on the skulls eye. |
| Define the top teeth by darkening the pencil lines. |
| Sketching the bottom teeth now again darkening the lines. |
| Adding more detail around the skull face. |
| Shade the eyes and mouth with dark pencil shadows. |
| Final Details sketched in. |
| Write or draw your signature. |
Monday, 13 September 2010
How To Draw A Fairy - Fairy Drawing
Fairy drawing
is something that I'm not used to and through this second post I feel I'm slowly getting there to draw a fairy, because you may remember my half arsed approach last time here - Drawing Fairies and now you can compare that one to this effort and there is slight improvements.
Although I did feel that the arms appeared too large and the feet, but it's an inspirational look at drawing a fairy and maybe the next time it will be much better, so without further self criticism, here is how to draw a fairy....
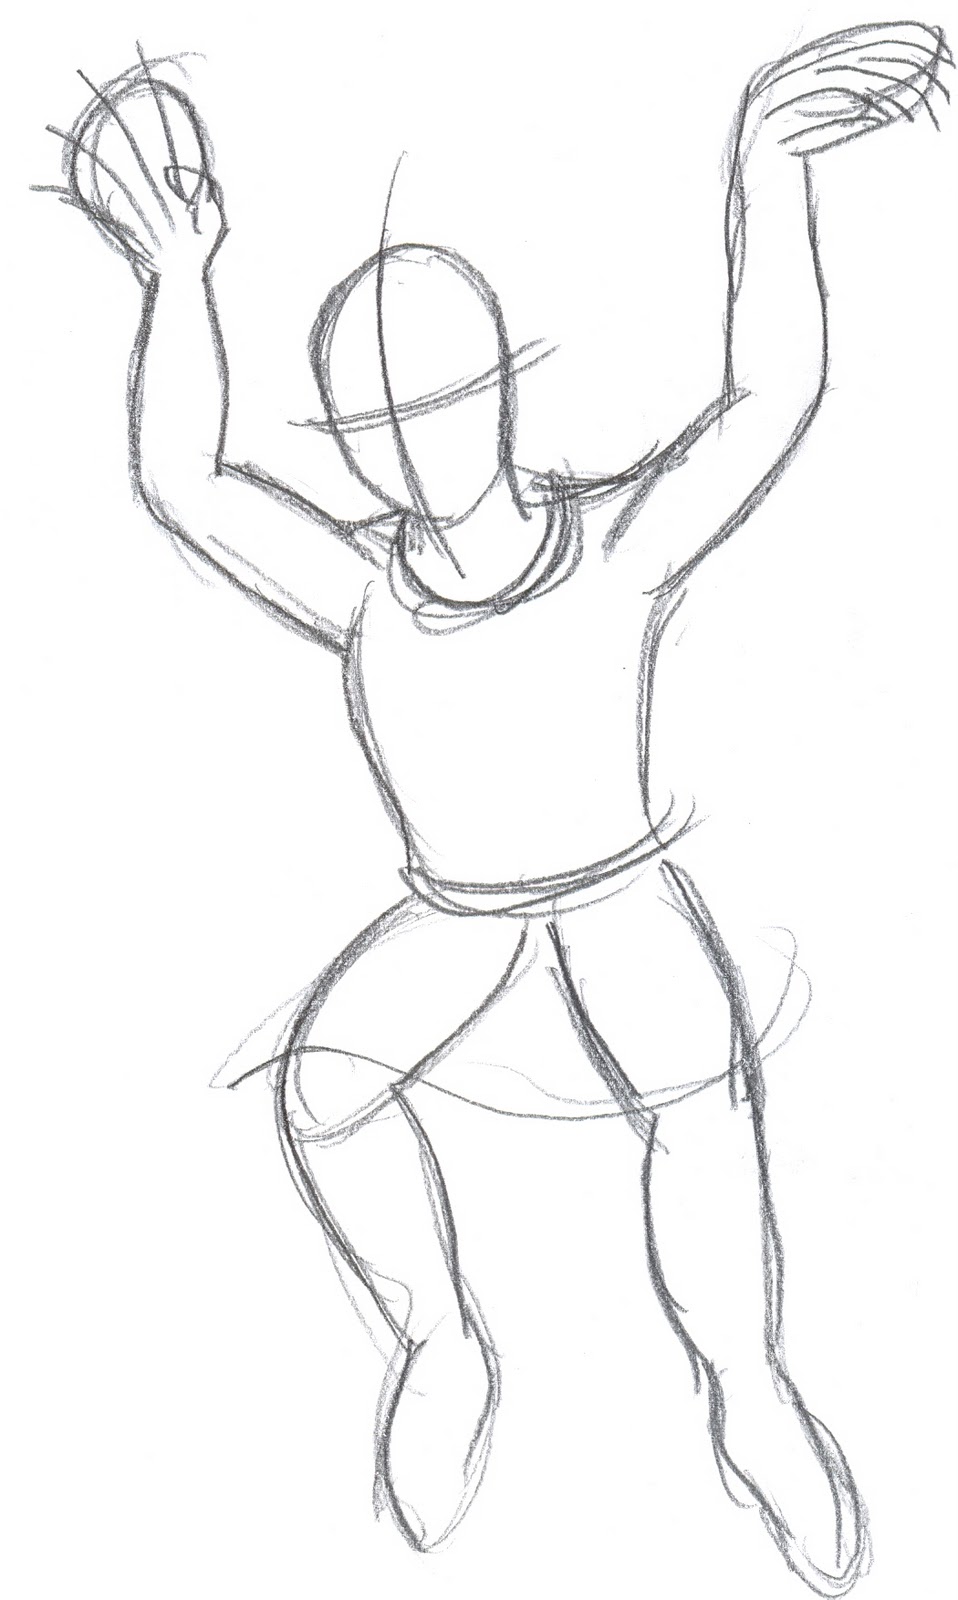
The first steps of any drawing has to be about a figure sketch that doesn't say a lot, as it needs to describe the shape of the fairies figure, but not reveal everything straight away, a simple way of doing this is to break down the figure into simple shapes, much like I've done before in my other drawing tutorials.
You can see below, that the fairy could be almost anything, but at least you know it will eventually become a fairy.
Fairy Sketch Step 1....
The next stage of our fairy drawing I suppose would be to bring out the figure more and refine it into something more tangible as a fairy figure form, also we can add some of the rough details like sketching in the dress and a few lines for the hair and basic features which will change in the next drawing stage.
Sometimes it might be worth trying to trace using a lightbox to see if you can capture the general figure and practice a few other figure positions at this drawing stage before it becomes final.
Drawing a fairy Step 2.....
One of the interesting aspects of this fairy drawing is that it's largely better than other fairies I've drawn, so it really does help to keep on practicing at every chance that you get because you do get better, maybe it's not noticeable until you compare your drawings, but art does improve over time, I assure you!
The third sketch is the best as we can throw out most of the rough pencil lines now and dispense with them as we have a good idea where we are going now or at least you should. Notice the curls on the fairies hair and more detail and refined design elements come into play now, this is when you know that your fairy drawing is going to be better than you thought.
Fairy drawing Step 3....
The final stage of the fairy drawing for me was about adding those finishing touches, such as eyes and more subtle details on the fairies dress with the flowers, although still not entirely happy with the fairies legs and arms, it still is an idea, a germ of inspiration for your own fairy drawings.
I inked the last fairy sketch with a fine line gel ink pen, which is always nice to ink with as the ink flows better and doesn't clog up when you are adding ink to your drawings, Biros are a good example of a pen that clogs, although I sketch often with a black biro I never use them for inking anymore.
When drawing your own fairies, try and get inspiration from fashion magazines, as this is what I will do for the next fairy drawing tutorial, as each tutorial passes I want to surpass the last one. And the possibilities of drawing a fairy that looks like a fashion model is very exciting to try and work out, it's a challenge, so watch this space....
Final inked fairy drawing Step 4....
Fairy Art Copyright © waynetully.com
Tuesday, 7 September 2010
How To Draw A Werewolf - Fantasy Drawing Tutorial
How to draw a werewolf, This is a drawing tutorial that shows you how to draw a wolfman. Werewolves are classic creatures to draw as they always look good when you try and draw them like the classic 1950's wolfman and to draw them with a canine element that's mixed with a human one is better for the werewolf to shine.
The beginning sketches are really basic, but they are needed to find your way with the werewolf drawing itself. Here below is the first drawing and it is the usual way of laying out simple figures that I have become used to, so study how the muscles and the form of each figure that you draw relates to each other and work it all out on the paper.
The second sketch is trying to examine where you go from the first sketch, it is about building up the wolfman's body structure and refining everything along the way. Muscles are worked out more here in this step and we lose much of the circular muscle shapes I used to start off the basic figure drawing.
The third step in the werewolf drawing process is to see the figure develop further and also starting to create more hair for the werewolf to look authentic, especially the head we can see the wolfman looking more realistic as a fantasy wolfman. Also note that in the background I've started to add a few mountains and a few clouds, in the inking stage I will draw a full moon to set off the wolfman drawing more.
The werewolf is looking more and more wolfman like now with it's ripped clothes, so try and aim for something along these lines.....
The last step of drawing a werewolf, I have decided to ink the complete pencil drawing with more added detail and the drawing looks more realised now with the fine line art work added in an almost comic book style.
Drawing a werewolf is a classic movie monster and look for more drawing tutorials from me soon featuring other classic movie creatures to draw.
See how to draw classic monsters....
Saturday, 4 September 2010
How To Draw A Minotaurs Head
Saturday, 28 August 2010
How To Draw A Hell Demon With Wings
Drawing a hell demon with wings is a favourite of mine to draw in what ever I like to draw and usually it's the horror side of fantasy art that I tend to draw the most and here is a quick drawing tutorial on how to draw a winged hell demon and I hope you like it!
First off the inspiration behind a winged demon is the gargoyle statues I probably have seen all over the world as I am a bit of a Gargoyle enthusiast really as some of the designs I find so inspiring to draw and create winged type creatures from, in the case of our hell demon we have to start off with the usual shape of the creature and how the muscles will work on the figure and how the wings are going to be drawn and so, here is the bit where I tell you about the first sketch which is the most important.
The beginning figure sketch....
We start off drawing some circle shapes that will represent the structure of the demon creature. Sometimes when I first start to draw I try to draw this way or other times I just draw the figure straight out as I know how to draw basic figures now, so I don't really need to use this method of building up figures from the draft sketch.
This rough draft sketching stage is the all important drawing stage and it doesn't matter if you get a few things wrong or you make a mistake as you can re-draw the sketch or start again. The trick is to just get the basics of the demon figure down on paper and work on it until you are happy with it.
In the drawing below I overlay the circles to emphasize the muscles, but not in great detail, just the general shape of the figure really and this helps to draw over this in the next stage...
First hell demon drawing - Basic Figure Shapes.
Hell demon figure drawing development....
In the second stage of drawing I did in this instance use my lightbox to trace a rough outline of the figure and get a feeling for the full figure and in this drawing you can see the figure taking shape and this is what makes the drawing come together. Obviously I didn't trace over the circles for hands as I wanted them to just be a guide for the demons hands that will have claws and this is what I drew in on the drawing below.
When drawing basic figures keep in mind that the first draft drawing wasn't an exact reflection on all the muscle groups that you can now see in the second demon sketch, as now you can see on the arms, the bicep and tricep aswell as some forearm muscle lines which help to set the whole hell demon drawing off.
Take your time drawing and laying out your figure drawing, because sometimes a figure idea just pops it's way in there half way through the drafting process and what might look good drawing something one way, might look even better if you draw it another.
Look at the demon drawing development sketch....
Finishing stages of the hell demon drawing...
In this drawing the drawing comes together quite nicely and there is no need for any further steps except to color them either with traditional broad art markers or on the computer with Photoshop. I like to ink the demon creature now and bring in some more details like the full demonic face and all of the muscles and finish the wings.
I haven't added much shading as I do want to scan my hell demon drawing into my Photoshop or Gimp art program and see what I can do with it in terms of color design I was thinking of some fire colors which could be a good idea since it is a demon from Hell.
When you are inking your demon creature try and get the important details out the way, such as any movement lines which help to make the drawing appear like it's a living creature and placing uneccesary details into your drawing will do you no good, so wherever possible try and draw only the absolute minimum details that won't over ride the drawing.
Inked Winged hell demon drawing....
Thursday, 26 August 2010
How To Draw A Minotaur
Minotaurs are huge bull like creatures usually depicted in the fantasy worlds as almost human form with hooves for feet and horns like a bull on the head and drawing them this time round has been fun and I hope you enjoy this little drawing tutorial.
How to draw a Minotaur
When starting to draw this minotaur I wanted to try and aim for a larger than life Minotaur, I'm sure you've seen the Narnia films with the Minotaur in that movie, well that is a great model to get some inspiration from and that's what I used,well at least the action figure I bought my son anyway.
The first step is identifying all of those muscles and grouping them in round circular shapes like I have in the sketch below, the reason I do this sometimes is to just show you how easy drawing figures actually is, when I'm drawing stuff out of my head I've pretty much learnt how to draw without using these shapes to show the muscles now and I just draw the creatures and figures as I see them in my head.
Once you have agreed a figure for your Minotaur, it is time to move on to the next stage, which is trying to identify how you are going to draw the realistic muscle mass instead iof the simplistic shapes, I tend to use a lightbox a lot if there is a complicated drawing I want to experiment with and you can really get some great results through using a lightbox.
Many people just assume lightboxes are just a tool for tracing, but if you use them right, they can be a very valuable tool for artists to create drawing out of plain rough draft sketches and much more, I highly recommend you buy a lightbox or at the very least you make one, if money's tight, just use a large window during the day with the sunlight shining through, worked for me for awhile, until I actually needed to work more on the night on drawing projects.
See the second sketch of the Minotaur as it really starts to come together quite quick on this one....
I like the next step of our drawing a Minotaur as the details are the key to pulling this creature drawing off and starting to draw a muscle bound Minotaur as you can draw in exact details and the things that you want to achieve very well on this stage of drawing.
The hooves are the main challenge and the trick is to make them look real if you can, and I barely managed it, but I've never drawn a Minotaur before, so the next time I do, I will look closely at horses hooves in depth to take note of them and draw them better.
Here is the final pencil drawing of the Minotaur...
I will update this drawing of a Minotaur at some point, maybe with drawing an in depth closer look at the Minotaurs head. I hope you enjoyed this Minotaur inspiration!
Subscribe to:
Posts (Atom)