Monday, 13 September 2010

How To Draw A Fairy - Fairy Drawing

Fairy drawing is something that I'm not used to and through this second post I feel I'm slowly getting there to draw a fairy, because you may remember my half arsed approach last time here - Drawing Fairies and now you can compare that one to this effort and there is slight improvements.

Although I did feel that the arms appeared too large and the feet, but it's an inspirational look at drawing a fairy and maybe the next time it will be much better, so without further self criticism, here is how to draw a fairy....

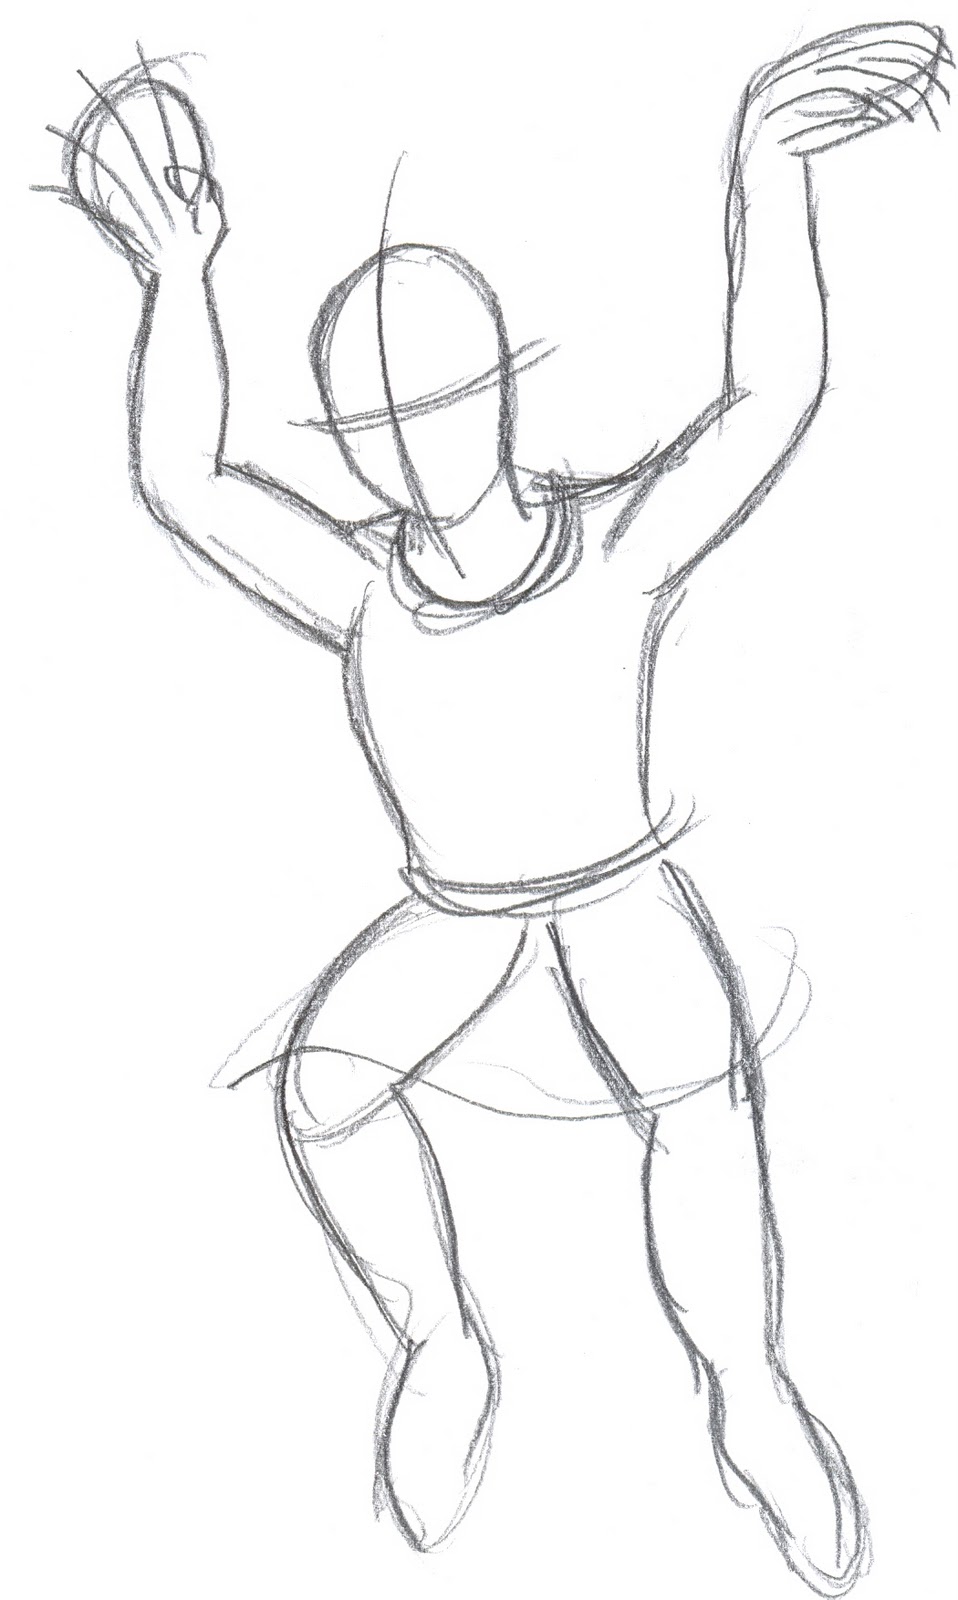
The first steps of any drawing has to be about a figure sketch that doesn't say a lot, as it needs to describe the shape of the fairies figure, but not reveal everything straight away, a simple way of doing this is to break down the figure into simple shapes, much like I've done before in my other drawing tutorials.

You can see below, that the fairy could be almost anything, but at least you know it will eventually become a fairy.

Fairy Sketch Step 1....
The next stage of our fairy drawing I suppose would be to bring out the figure more and refine it into something more tangible as a fairy figure form, also we can add some of the rough details like sketching in the dress and a few lines for the hair and basic features which will change in the next drawing stage.

Sometimes it might be worth trying to trace using a lightbox to see if you can capture the general figure and practice a few other figure positions at this drawing stage before it becomes final.

Drawing a fairy Step 2.....

One of the interesting aspects of this fairy drawing is that it's largely better than other fairies I've drawn, so it really does help to keep on practicing at every chance that you get because you do get better, maybe it's not noticeable until you compare your drawings, but art does improve over time, I assure you!

The third sketch is the best as we can throw out most of the rough pencil lines now and dispense with them as we have a good idea where we are going now or at least you should. Notice the curls on the fairies hair and more detail and refined design elements come into play now, this is when you know that your fairy drawing is going to be better than you thought.

Fairy drawing Step 3....

The final stage of the fairy drawing for me was about adding those finishing touches, such as eyes and more subtle details on the fairies dress with the flowers, although still not entirely happy with the fairies legs and arms, it still is an idea, a germ of inspiration for your own fairy drawings.

I inked the last fairy sketch with a fine line gel ink pen, which is always nice to ink with as the ink flows better and doesn't clog up when you are adding ink to your drawings, Biros are a good example of a pen that clogs, although I sketch often with a black biro I never use them for inking anymore.

When drawing your own fairies, try and get inspiration from fashion magazines, as this is what I will do for the next fairy drawing tutorial, as each tutorial passes I want to surpass the last one. And the possibilities of drawing a fairy that looks like a fashion model is very exciting to try and work out, it's a challenge, so watch this space....

Final inked fairy drawing Step 4....


Fairy Art Copyright © waynetully.com

Sunday, 12 September 2010

Crayola Crayon Halloween Pumpkin Color Demonstration Video

Search Amazon.com for CrayolaBeen busy creating some YouTube videos lately (Can't you tell?!!) and in this one I have colored a Halloween pumpkin with those trusty and most classic Crayola crayons which I've used ever since I was a little devil back at nursery drawing on the nursery walls (Naughty me!!)

The Crayola crayons are wax crayons and so they do need you to get past the fact that wax sometimes leaves crumbs of wax crayon on the drawing and this can be frustrating for some, but it is a workable medium as you can easily shake the bits off yor drawing or even get a small scalpel and scrape them off.

In the following video I color a Halloween pumpkin drawing I did for this Halloween and you can see how to draw a halloween pumpkin here.

Watch the video to see the Crayola Crayons in action....

Saturday, 11 September 2010

Crayola Supertips Flaming Skull Color Demonstration Video

When it comes to coloring in with any art marker, it is a really good idea to do a quick almost sketchy color guide first and this YouTube video that I created simply shows you how to apply color in a few shades in a fast sketchy way without me saying a word.

The drawing was a skull with fire at the back of the skull design and so all I had to do was quickly color in with my Crayola Supertip markers with 4 markers red, orange, yellow and pink.

Watch the video and see how easy it is to lay down color with some supertip art markers from Crayola.....

Drawing Manga Book Video Review

I recently did a quick video flicking through a great Manga drawing book that I bought awhile ago and it is full of great drawing tutorials which you can see the tutorial examples as I run through the Manga art book.

The monster book of manga is a really good book that I think you really should take a look at if you are into learning how to draw Manga and there are loads of Manga characters and creatures to draw within the book.

What I say in the video is that the drawing tutorials are really focused and created in such a format that it makes it easy to follow every step of the way drawing these popular Manga characters and creatures. So there is no pages of art with no direction or fluff, just to get you to buy the book with over 366 pages, this book really is a monster book of manga!

Tuesday, 7 September 2010

How To Draw A Werewolf - Fantasy Drawing Tutorial

How to draw a werewolf, This is a drawing tutorial that shows you how to draw a wolfman. Werewolves are classic creatures to draw as they always look good when you try and draw them like the classic 1950's wolfman and to draw them with a canine element that's mixed with a human one is better for the werewolf to shine.

The beginning sketches are really basic, but they are needed to find your way with the werewolf drawing itself. Here below is the first drawing and it is the usual way of laying out simple figures that I have become used to, so study how the muscles and the form of each figure that you draw relates to each other and work it all out on the paper.

The second sketch is trying to examine where you go from the first sketch, it is about building up the wolfman's body structure and refining everything along the way. Muscles are worked out more here in this step and we lose much of the circular muscle shapes I used to start off the basic figure drawing.

The third step in the werewolf drawing process is to see the figure develop further and also starting to create more hair for the werewolf to look authentic, especially the head we can see the wolfman looking more realistic as a fantasy wolfman. Also note that in the background I've started to add a few mountains and a few clouds, in the inking stage I will draw a full moon to set off the wolfman drawing more.

The werewolf is looking more and more wolfman like now with it's ripped clothes, so try and aim for something along these lines.....

The last step of drawing a werewolf, I have decided to ink the complete pencil drawing with more added detail and the drawing looks more realised now with the fine line art work added in an almost comic book style.

Drawing a werewolf is a classic movie monster and look for more drawing tutorials from me soon featuring other classic movie creatures to draw.


See how to draw classic monsters....

Scream: Draw Classic Vampires, Werewolves, Zombies, Monsters and More