
Although I did feel that the arms appeared too large and the feet, but it's an inspirational look at drawing a fairy and maybe the next time it will be much better, so without further self criticism, here is how to draw a fairy....
The first steps of any drawing has to be about a figure sketch that doesn't say a lot, as it needs to describe the shape of the fairies figure, but not reveal everything straight away, a simple way of doing this is to break down the figure into simple shapes, much like I've done before in my other drawing tutorials.
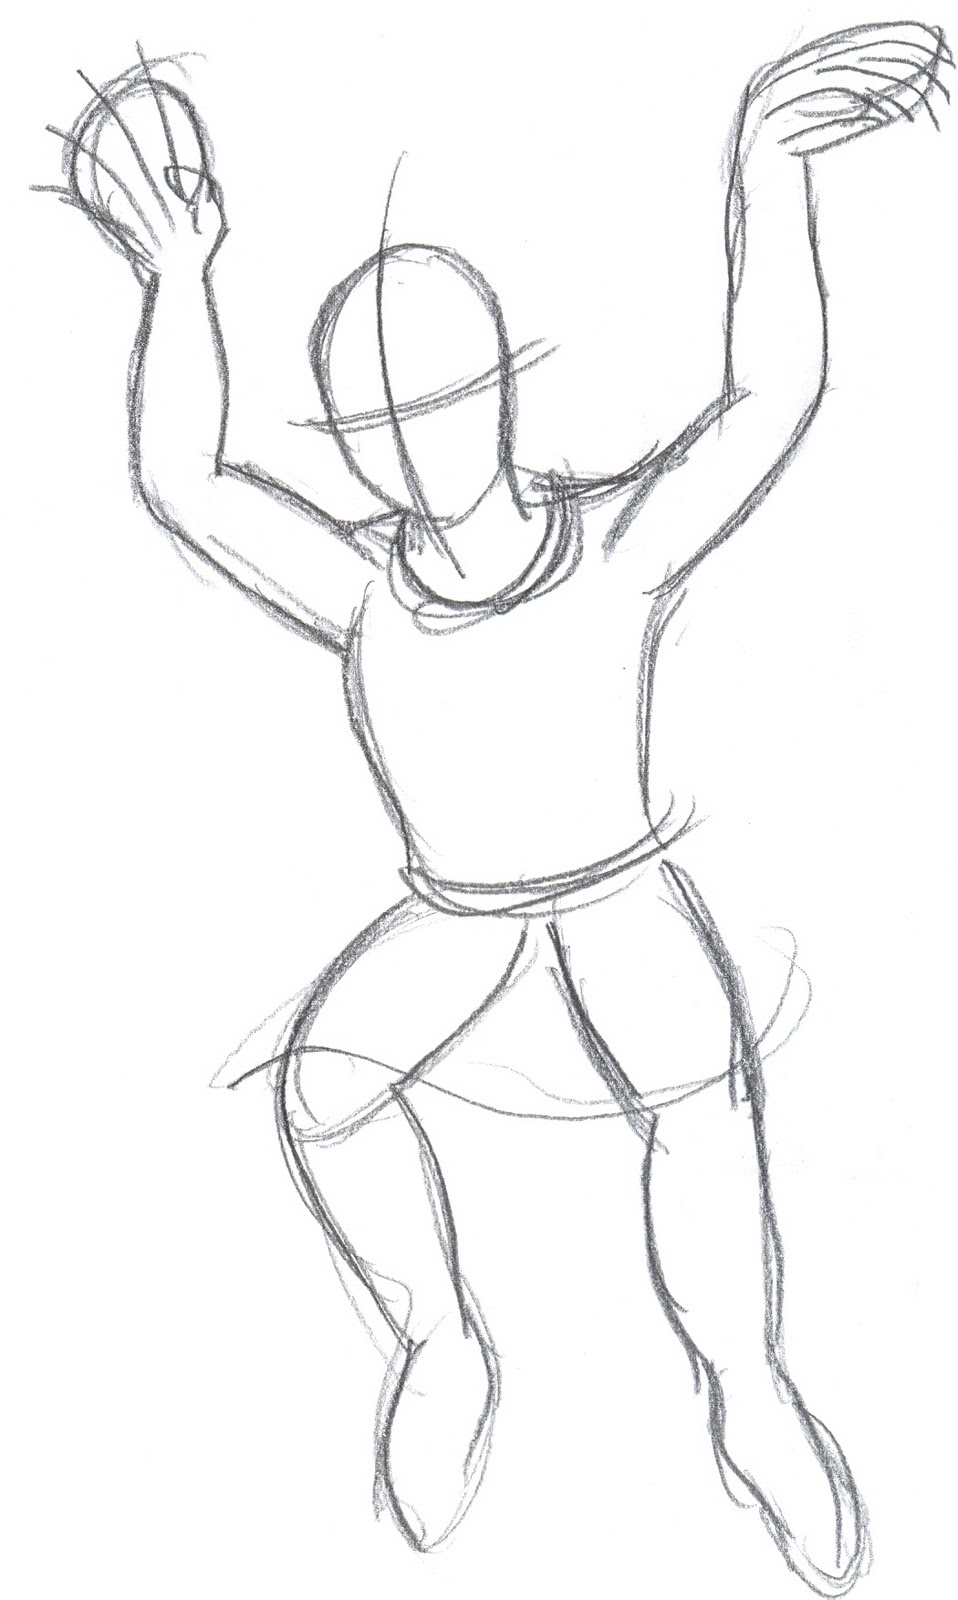
You can see below, that the fairy could be almost anything, but at least you know it will eventually become a fairy.
Fairy Sketch Step 1....
Sometimes it might be worth trying to trace using a lightbox to see if you can capture the general figure and practice a few other figure positions at this drawing stage before it becomes final.
Drawing a fairy Step 2.....

The third sketch is the best as we can throw out most of the rough pencil lines now and dispense with them as we have a good idea where we are going now or at least you should. Notice the curls on the fairies hair and more detail and refined design elements come into play now, this is when you know that your fairy drawing is going to be better than you thought.
Fairy drawing Step 3....

I inked the last fairy sketch with a fine line gel ink pen, which is always nice to ink with as the ink flows better and doesn't clog up when you are adding ink to your drawings, Biros are a good example of a pen that clogs, although I sketch often with a black biro I never use them for inking anymore.
When drawing your own fairies, try and get inspiration from fashion magazines, as this is what I will do for the next fairy drawing tutorial, as each tutorial passes I want to surpass the last one. And the possibilities of drawing a fairy that looks like a fashion model is very exciting to try and work out, it's a challenge, so watch this space....
Final inked fairy drawing Step 4....

Fairy Art Copyright © waynetully.com
Fairy drawing has captured the hearts and minds of artists and enthusiasts for generations. These ethereal beings, often associated with enchantment and fantasy, inspire those seeking to create whimsical and captivating artwork.
ReplyDelete